


A brief introduction
Some time ago, I initiated a Golang project aimed at managing cryptocurrency through microservices. In our setup, we utilized Node.js and TypeScript to handle the database and authentication services.
If you're unfamiliar with microservices, let me give you a brief analogy (although this isn't a microservices tutorial; it's worth noting that technology concepts apply universally). Think of microservices as "micro" or small services that make up an application. In a typical application, you would have three main components: the client side, which users interact with; the server, which communicates with the client side; and the database, where all the data is stored.
In a traditional setup, the server handles everything, from authentication to video processing . However, the microservices approach suggests having separate servers, each dedicated to specific tasks. For example, one server might handle authentication, while another handles video processing. This division of labour allows for greater scalability and flexibility.
If you want to delve further into the topic, you can watch Dillion Megida video on "Microservices Simplified." I hope this clarifies the concept for you.
Certainly, let's dive back into Ethereum!
Ethereum relies on digital wallets, which are like virtual bank accounts for managing Ether (cryptocurrency). These wallets allow users to interact with the Ethereum network, just as you interact with banks using your account number as your identity. Your money is associated with your bank account, while with Ethereum, you need a wallet address to interact with the blockchain. So, think of Ethereum wallets as addresses for accessing and using the Ethereum blockchain.
Today, I'll show you how to make a wallet using Golang. Golang, also called Go, is a modern and efficient programming language made by Google. It's easy, fast, and dependable, making it great for building all sorts of software, like web services, system tools, and cloud-based apps.
Step 1: Writing our golang code
Firstly, you need to have Golang installed on your computer, along with an Integrated Development Environment (IDE) like Vscode and a terminal.
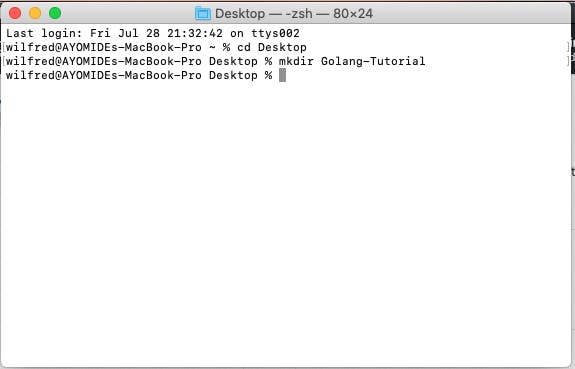
Once Golang is set up, open your terminal and create a new directory in your desired folder. If you're using a Mac, follow these steps.
To open the folder in Vscode, you can type the command "code ." in your terminal. This command will open the current directory in Vscode, allowing you to start working on your Golang project in the preferred IDE.
To quickly start experimenting, create a new file named "main.go." In Go, "main.go" serves as the entry point where code execution begins. Now, paste the Golang code into this "main.go" file.
package main

import "fmt"

func main(){
    fmt.Println("Hello Hashing")
}
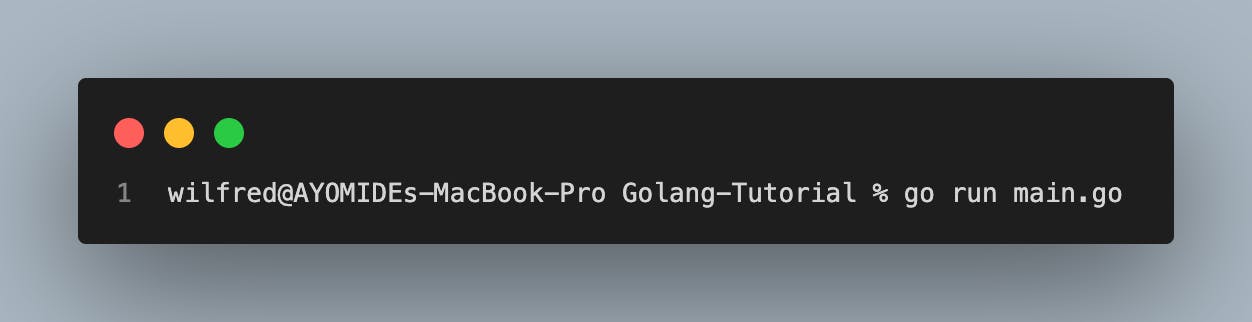
Proceed by opening your terminal within VSCode and enter the following command.
go run main.go
The following image illustrates the entire process, including the output you will receive.
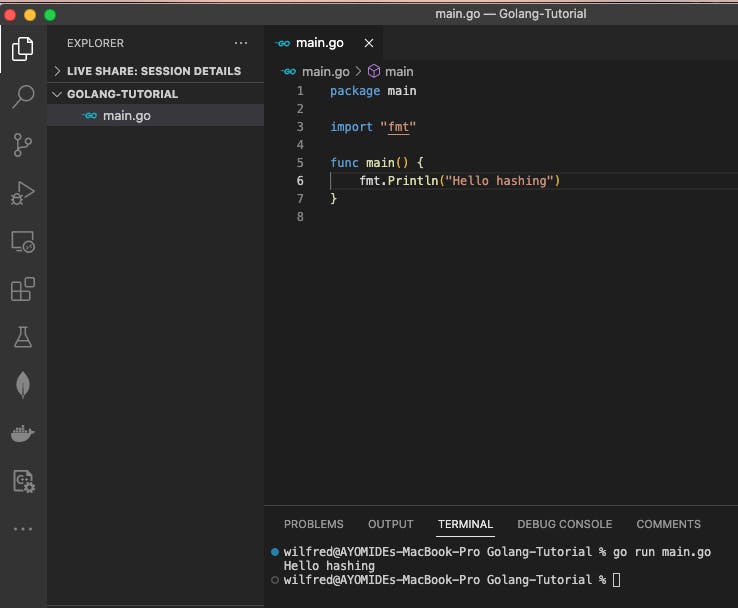
The purpose of this Go code is to print the "Hello hashing" word using the println function, which is a built-in function in Go used to display output to the console.
Start by opening your terminal and executing the command "go mod github.com/ayowilfred95/golang-tutorial". However, make sure to replace "ayowilfred95" with your own GitHub username, as it follows the Go Modules naming convention. If you're familiar with Node.js and package.json, you can think of Go Modules (go mod) as a similar concept for Go projects.
go mod init github.com/your_github_name/project_name
below is my terminal

As you can observe, a go mod file is created, which takes care of handling all the dependencies required for this tutorial.